How to make an audio spectrum video: bars, ring or waveform
The classic visualizer is still the bars: a row of columns that jump with each frequency, maybe wrapped in a ring around the cover art. In AVIZ that is one effect with five shapes, and you can lay it over your own image and export a finished video with the track’s sound. Here is how, plus two alternatives for when bars feel too familiar.
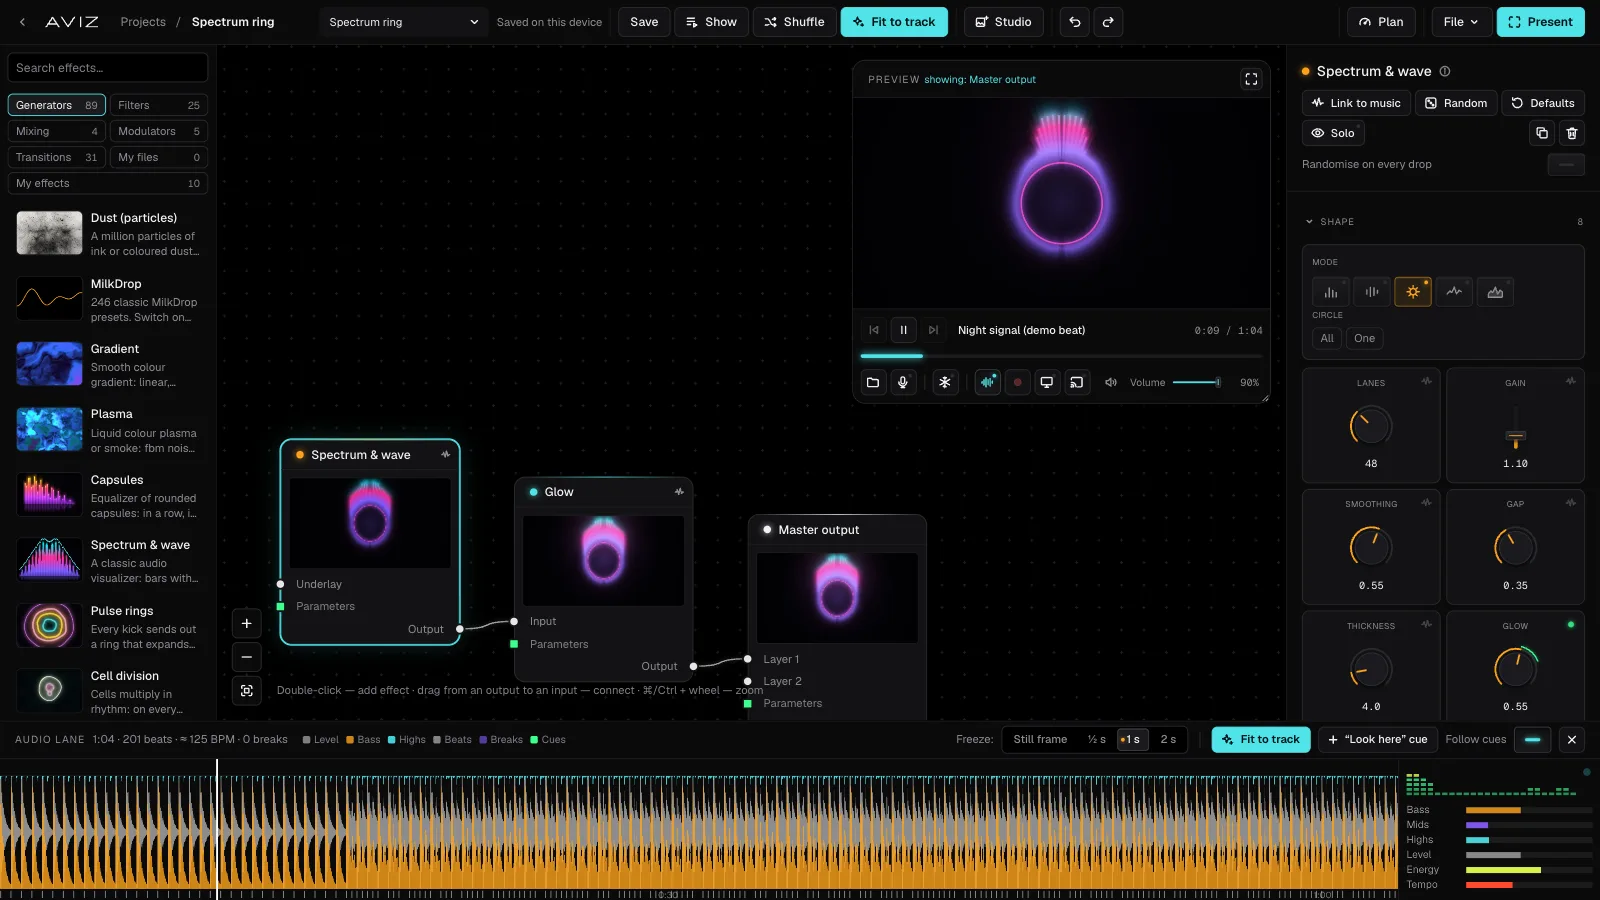
What a spectrum shows
A spectrum visualizer splits the sound into frequency bands, from the sub bass on the left to the hiss of the hi-hats on the right, and draws how loud each band is right now. A waveform draws the shape of the sound wave itself. Bars read clearly on a phone; a waveform suits speech and podcasts, where the frequencies matter less than the rhythm of the voice.
Step 1: add Spectrum & wave
- Open AVIZ, load your track with Tracks or drag the file into the window.
- Start from the Spectrum under glass template, or add Spectrum & wave from the Generators list to an empty scene.
- Select the node and pick a Mode: Bars, Mirrored bars, Circle, Oscilloscope or Filled wave.
Step 2: tune it to the track
- Lanes: how many bars, up to 128. Around 48 reads well on a phone screen.
- Gain: raise it for quiet, dynamic music, lower it when every bar hits the top.
- Smoothing: higher values make the bars glide; lower values make them twitch with every hi-hat.
- Gap, Thickness and Glow: the look of the bars.
- Colour by: colour across the row or by how high each bar is.
- Kick response: how much the whole shape jumps and lights up on the kick.
- Layout: along the bottom or in the centre.
Step 3: a ring around your cover art
The look you know from music channels on YouTube is a circular spectrum around the album cover. To build it:
- Drag the cover image into the editor. It lands in My files and appears on the map as a node (Free keeps up to 3 files, Pro and Studio have no limit).
- Set Spectrum & wave to Circle with Layout set to Centre.
- Connect the image node to the spectrum’s Underlay input. The ring now sits on top of the cover, and blend mode and opacity appear at the bottom of its settings.
- Add a Transform before the image if the cover needs to be smaller than the ring, and Glow after the spectrum for the neon edge.
Step 4: export with sound
Open File → Export video and frames…, pick 16:9 for YouTube or 9:16 for Shorts, Reels and TikTok, leave Track audio in video on and set the start and length. Export renders every frame from the track file, so the bars match the sound exactly. Free exports 720p with a small watermark; Pro and Studio go up to 4K without it. The full walkthrough is in the guide to visualizer videos.
For an overlay that you will place in a video editor yourself, turn on Transparent background in the spectrum’s settings and in the export window. You get WebM with an alpha channel, which Premiere, After Effects, DaVinci Resolve and OBS can read.
Two alternatives to bars
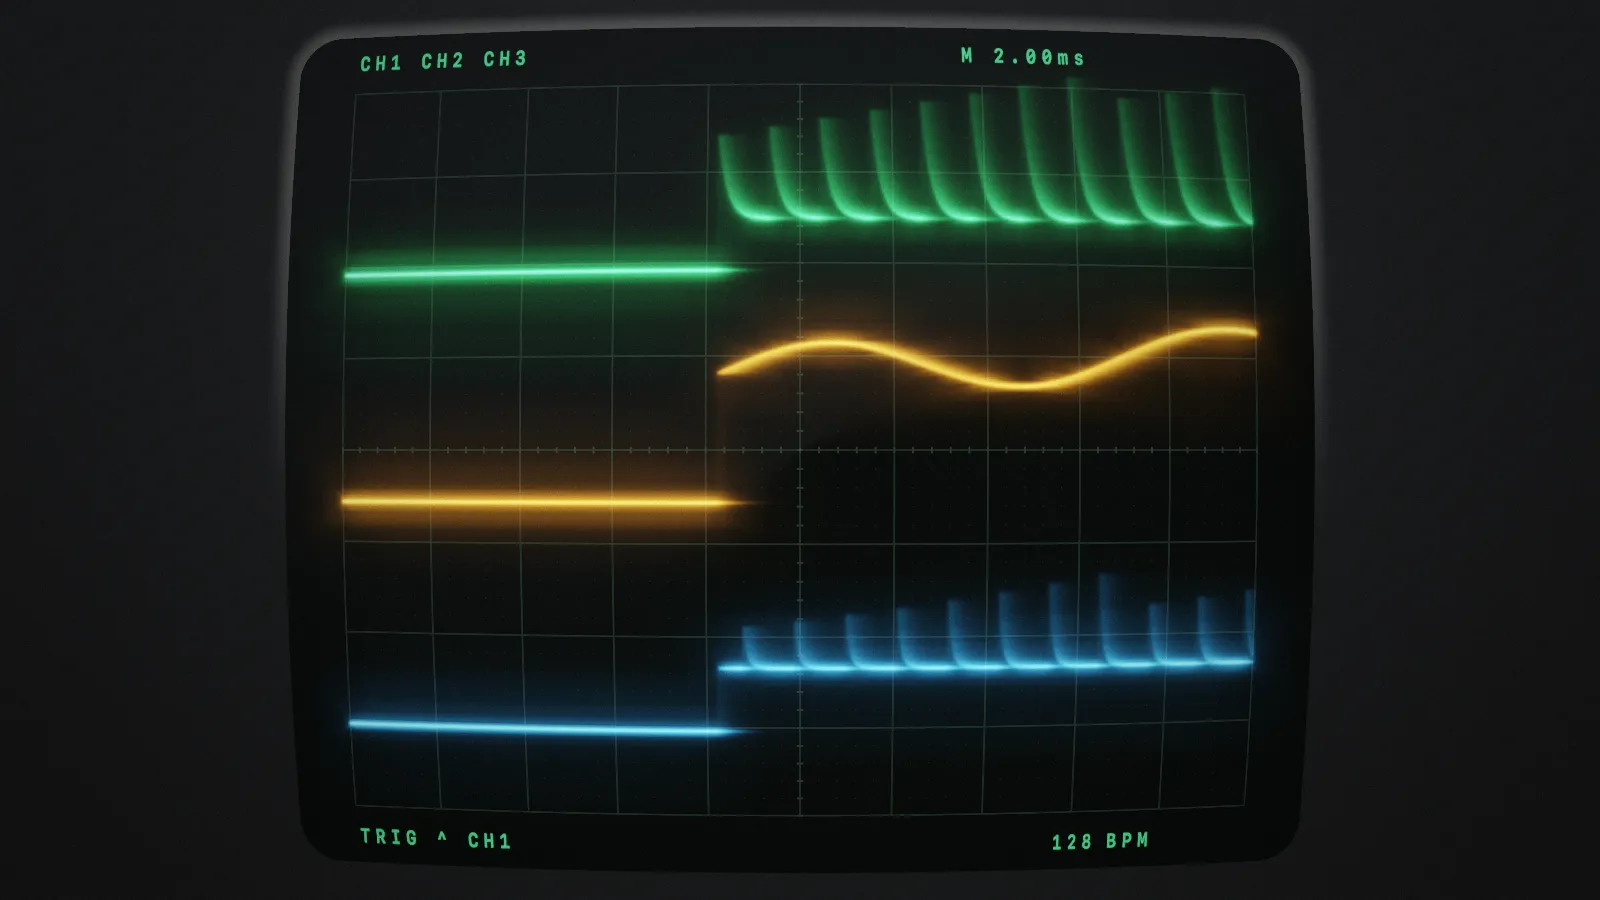
An analogue oscilloscope
The Oscilloscope effect draws a thin phosphor beam with afterglow on a measuring grid. Its modes are a synced wave, Lissajous figures, three channels for bass, mids and highs, and a circle. The Telemetry template starts from three channels.
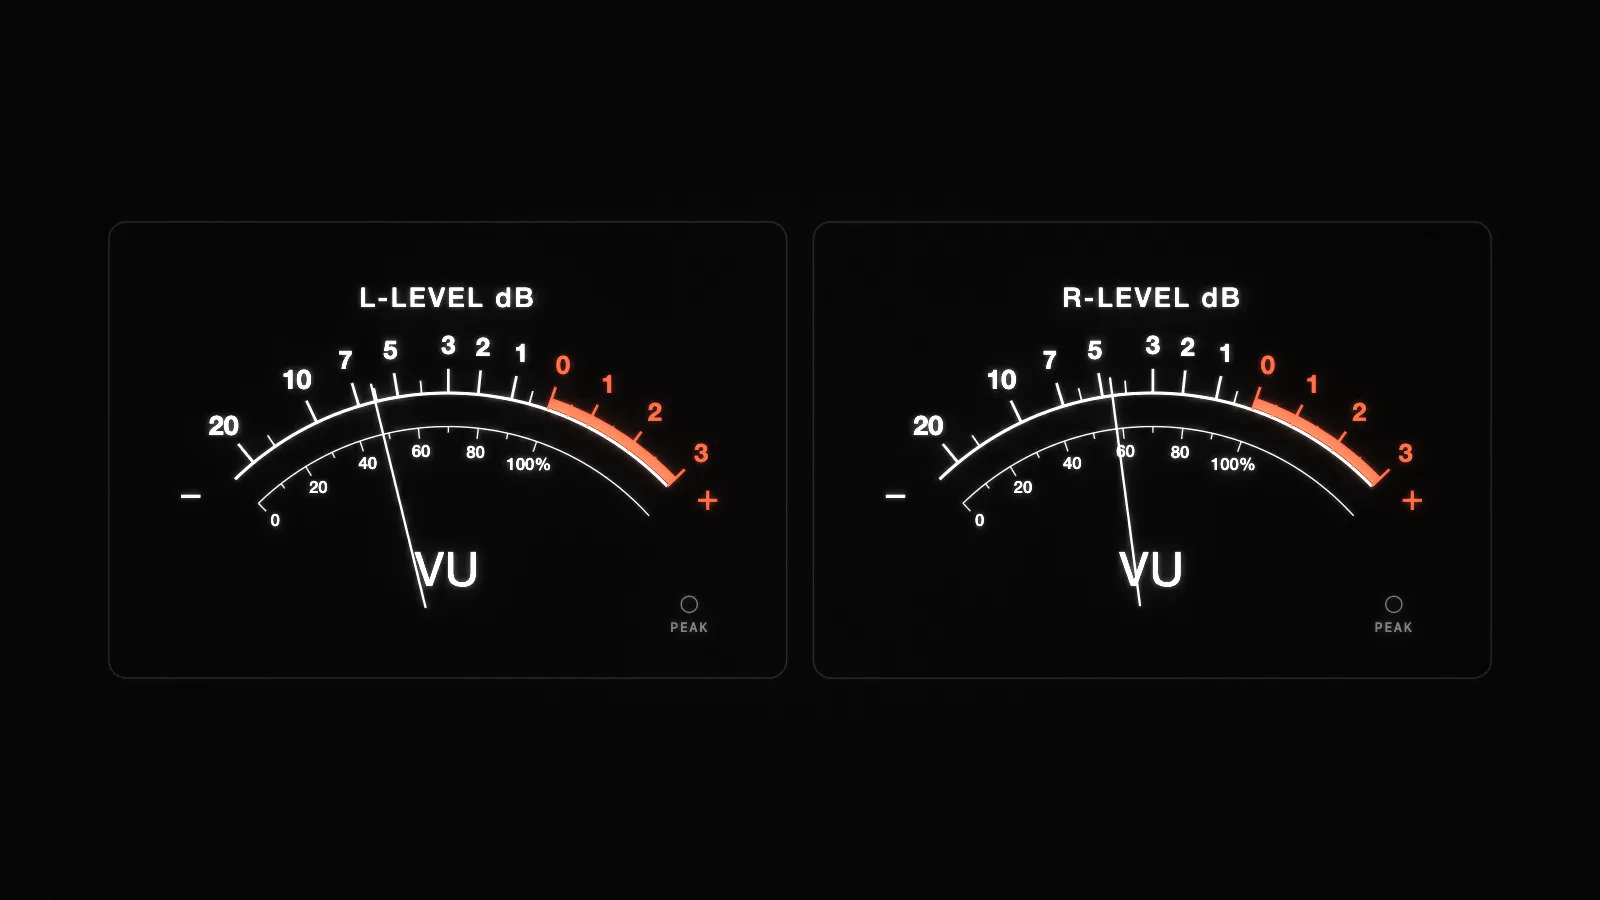
Studio meters
Gauges draws hardware: VU meters, a stereo pair, an LED peak meter, an XY goniometer, a spectrum waterfall, a tape deck, a mixer. Studio meters switches between several of them on drops. It works well behind a podcast or a beat tape, where flashy visuals would distract.
For a podcast or an audiobook
Speech has no kick to react to, so pick Filled wave or the oscilloscope, set Kick response low, Smoothing high, and put the waveform under the episode cover. Long exports take time because every frame is rendered; split a long episode into parts or export a short clip for social media and link to the full episode.