How to make a Spotify Canvas that moves with your track
Canvas is the short vertical loop that plays behind a song in the Spotify app. You can film one, animate the cover, or build it from the track itself so the picture pulses at the song’s tempo. This guide does the last one, in AVIZ, and keeps every setting inside Spotify’s rules.
What Spotify asks for
According to Spotify’s Canvas guidelines, a Canvas needs to be:
- 3 to 8 seconds long;
- vertical, 9:16;
- between 720 and 1080 pixels tall;
- an MP4 or JPG file.
The same page advises against rapid cuts and intense flashing, suggests keeping important content away from the edges because some phones crop them, and notes that the song and artist name are already on screen. Spotify plays the song itself under the loop, so the file needs no sound of its own.
Many guides recommend 1080×1920, which has the right shape but is 1920 pixels tall. If you want to match the guideline to the letter, export 608×1080: 9:16 and exactly 1080 pixels tall. Both sizes are below.
1. Load the master and find the moment
Open AVIZ in Chrome or Edge and drag in the final master of the song. Play it and note where the hook or the drop starts. The waveform under the node map marks the kicks, which helps to find the first beat of a bar.
2. Pick a calm, steady scene
A Canvas loops for as long as the song plays, so a scene that breathes on the beat wears better than one that strobes. In Templates, scenes built on flowing colour, slow particles or a turning 3D object work well. If an effect flashes, lower its reaction to the kick or raise the Kick threshold so fewer hits get through.
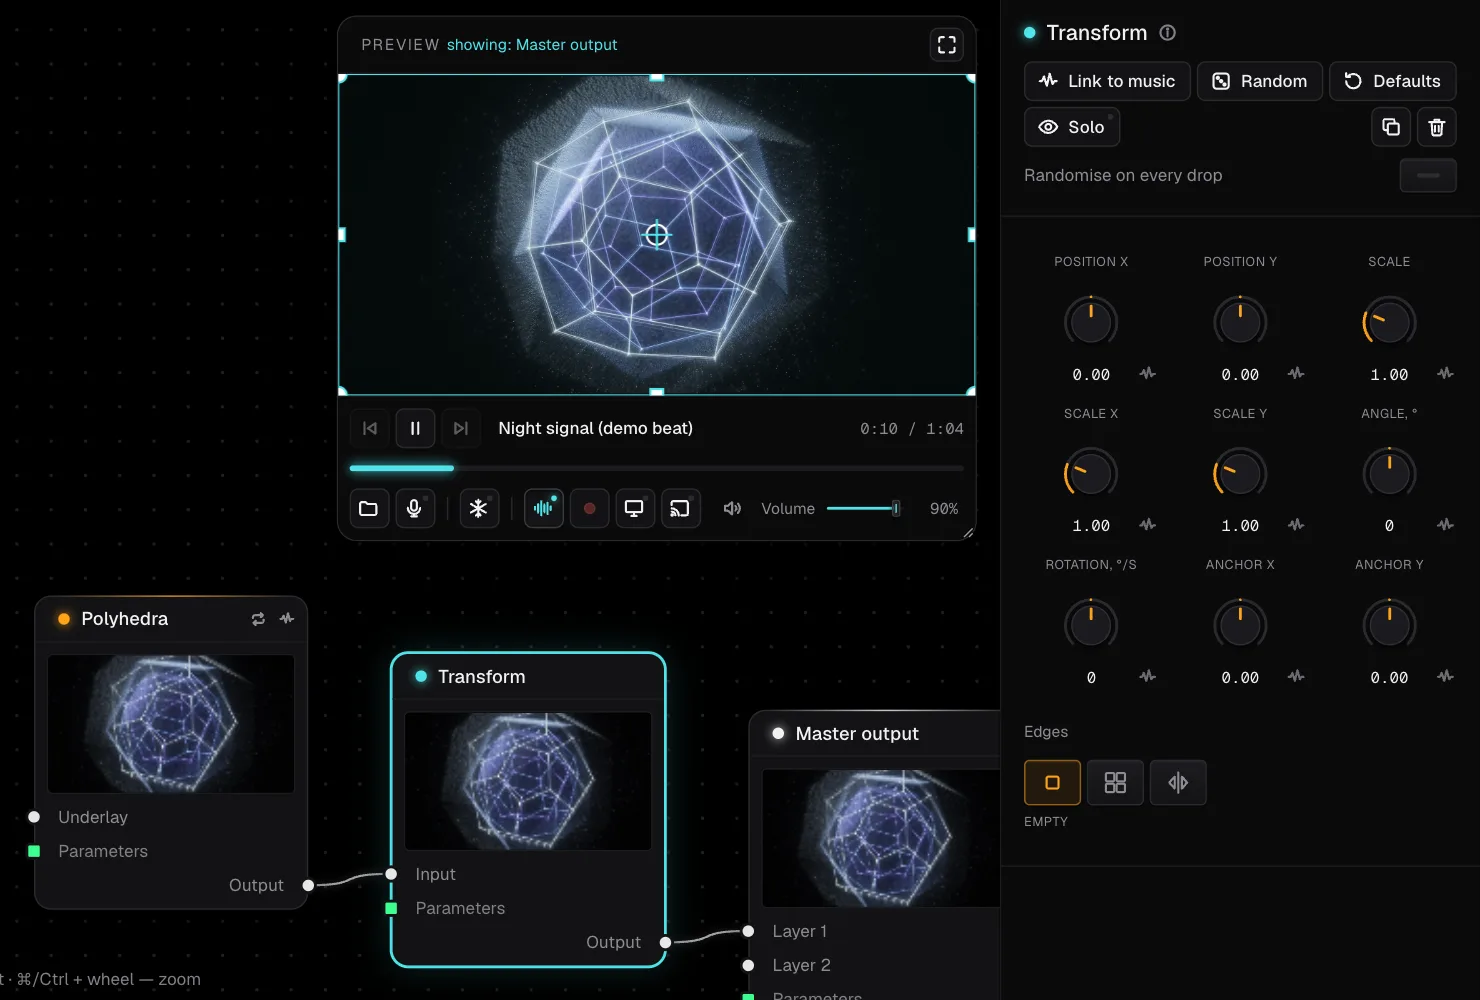
You can also put the cover art in: drag the image into the window, connect it to the scene, and let a Transform node scale it slightly on the bass. Keep the cover and any faces in the middle third of the frame.
3. Choose a length that loops on the beat
Spotify loops the clip without syncing it to the song. If the length holds a whole number of beats, the pulse stays even across the seam and the loop doesn’t stumble. The formula: beats = seconds × BPM ÷ 60. AVIZ sets the length in half-second steps, so here are lengths that land on whole beats:
| Tempo | Length | Beats |
|---|---|---|
| 90 BPM | 8 s | 12 |
| 100 BPM | 6 s | 10 |
| 120 BPM | 8 s | 16 (4 bars) |
| 128 BPM | 7.5 s | 16 (4 bars) |
| 140 BPM | 6 s | 14 |
| 150 BPM | 8 s | 20 (5 bars) |
| 174 BPM | 5.5 s | ≈16 |
Start the clip on the first beat of a bar, so the first and last frames sit at the same point of the pattern.
4. Export
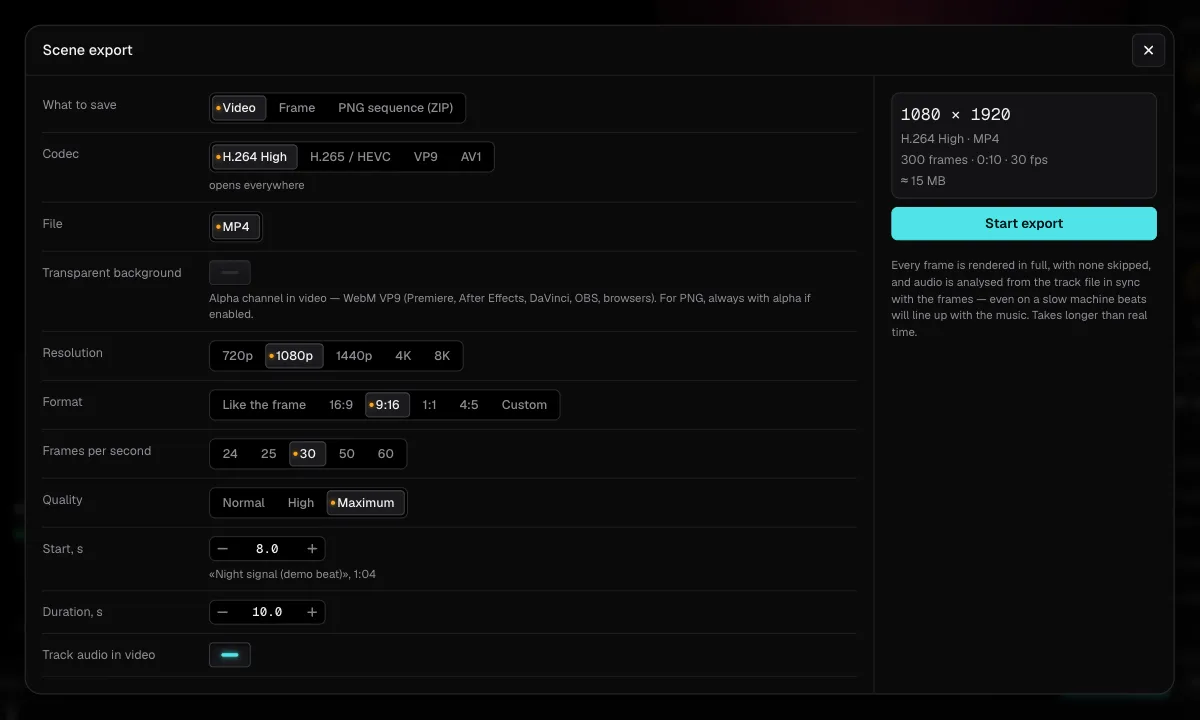
Open File → Export video and frames… and set:
- Video, codec H.264, in MP4.
- Format 9:16 and resolution 1080p for 1080×1920, or Custom 608×1080 to match the guideline exactly.
- 30 frames per second.
- Start at the downbeat you found, Duration from the table.
- Track audio in video off: Spotify supplies the sound.
Export renders every frame from the track file, so the motion follows the music exactly, even on a slow laptop. The finished MP4 is usually a few megabytes.
5. Upload it in Spotify for Artists
In Spotify for Artists, open Music, choose the released song and add the file under Canvas. Spotify reviews it before it appears in the app. If the upload is refused for its size, export the 608×1080 version.
Which plan you need
On Free, export stops at 720p and adds a small AVIZ watermark, which looks out of place on a release. Pro ($12 a month or $96 a year) exports without the watermark and allows commercial use, which covers artwork for your own releases and for clients. With Pro you can also make the full visualizer video for YouTube from the same scene.