How to make your own VJ loops that hit on the beat
Downloaded loop packs look the same in every club, and most of them were cut at a tempo that isn’t yours. With AVIZ you render loops from live scenes at the exact BPM of your set, in the length and format your VJ software wants. This guide goes from choosing a scene to a clip in Resolume.
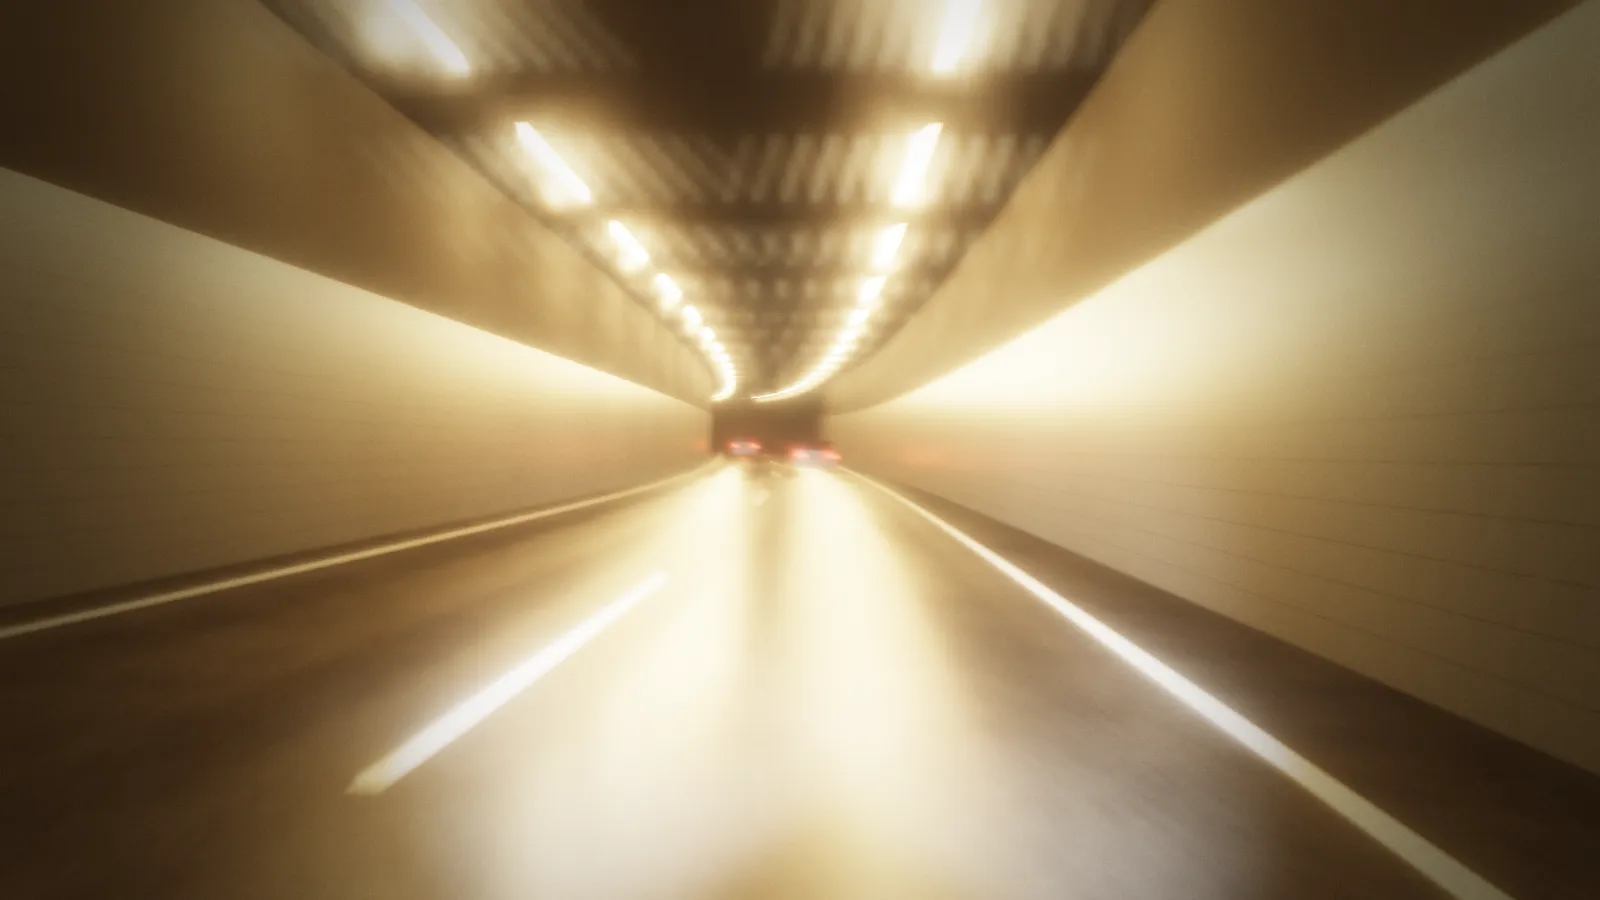
What makes a good loop
A VJ loop is a short clip that plays on repeat while you mix it with others. Three things decide whether it works in a set:
- Length in bars, not seconds. A loop of 8 or 16 bars at the tempo of the music stays in phase with it when you retrigger it on the downbeat.
- Motion that doesn’t end. Tunnels, starfields, lasers and slowly turning shapes look continuous on repeat. A scene that builds to something big shows a jump when it restarts.
- A format the software plays smoothly. Resolume runs best on its own DXV codec, VDMX and others on HAP. H.264 works everywhere but costs more processor time when you stack many layers.
Step 1: pick or build a scene
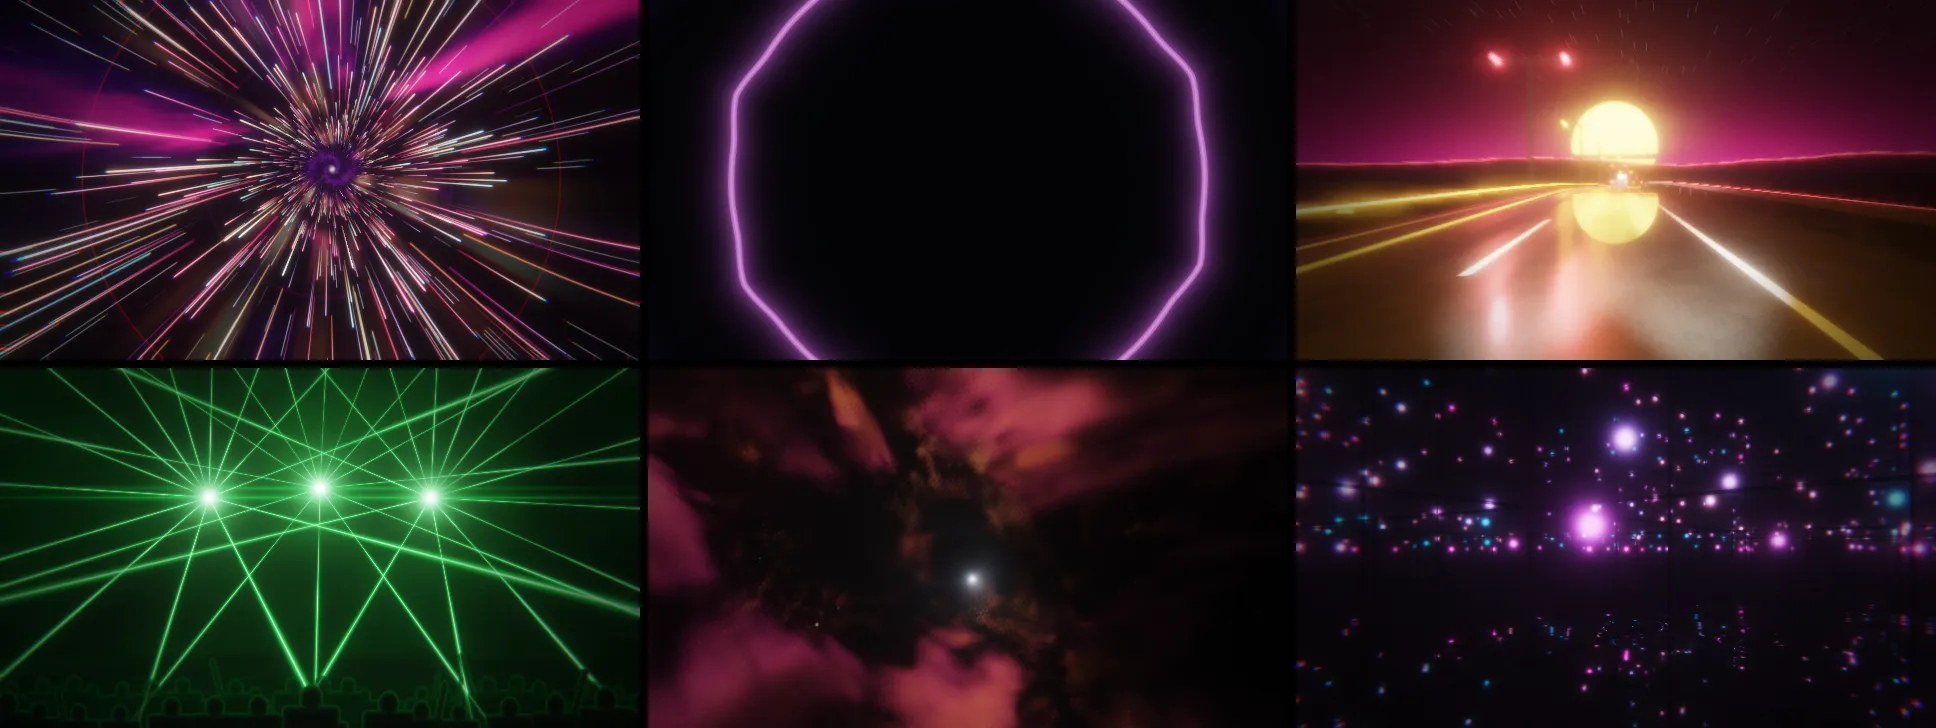
Open AVIZ and start from a template. These loop well because nothing in them has a beginning or an end: Tunnel at speed, Hyperspace, Rings & kaleidoscope, Neon track, Lasers over the crowd and Infinity room. Change the palette, add Glow or a Kaleidoscope after the generator, and the loop is already yours rather than one from a pack.
Keep one idea per loop. A VJ mixes layers in the software; a loop that already contains three effects leaves nothing to mix.
Step 2: give it a track at your tempo
Export works from a track file, so the picture moves with real kicks. Load a track at the tempo you play, for example a 128 BPM kick loop or a mixdown of your own song, and AVIZ reads its beats. Without a track, the export window warns that the effects will move without music.
Work out the length from the tempo: one bar is 4 beats, so at 128 BPM a bar lasts 1.875 seconds, 8 bars last 15 seconds and 16 bars last 30. At 120 BPM, 8 bars are exactly 16 seconds. The duration field in the export window moves in steps of half a second, which fits both.
Step 3: export
- Open File → Export video and frames….
- Set Start, s to a moment where the track already plays at full energy, usually after the intro.
- Set Duration, s to your 8 or 16 bars.
- Choose the frame: 16:9 at 1080p for most screens, or 4K on Pro and Studio for LED walls and scaling. Free exports 720p with a small AVIZ watermark.
- Turn off Track audio in video: VJ software ignores the sound anyway.
- Pick the format. For the best quality before converting, choose PNG sequence (ZIP); for a quick clip, H.264.
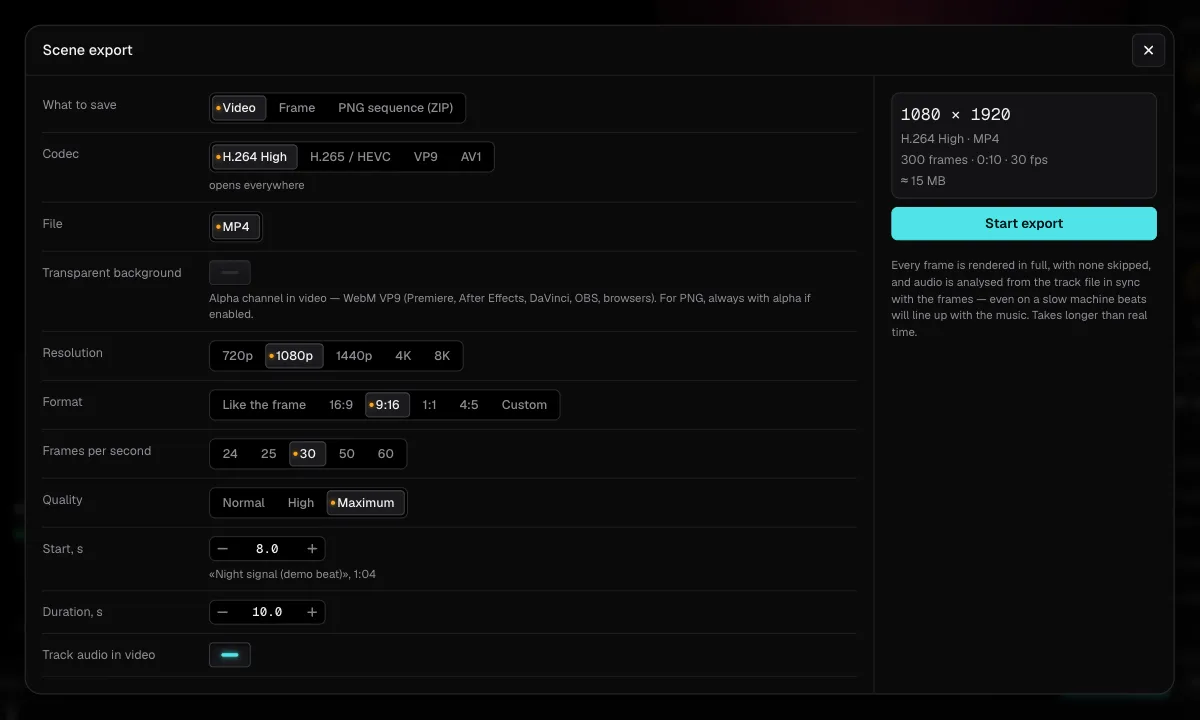
Export renders every frame from the track file, slower than real time, so beats land exactly even on a modest laptop. For overlays, such as a spectrum ring over someone else’s footage, turn on Transparent background: you get WebM with an alpha channel or PNG frames with alpha.
Step 4: make the seam invisible
AVIZ renders forward in time and doesn’t stitch the last frame to the first, so check the loop on repeat before you take it to a gig. With scenes like the ones above, the cut is rarely visible. When it is, export two seconds longer and crossfade the extra tail into the start in any video editor; that is how most loop packs are made.
Step 5: into Resolume, VDMX or OBS
- Resolume. Convert the PNG sequence or MP4 to DXV with Resolume Alley, the free converter that comes with it, then drop the files into the deck. Set the clip to BPM sync with the number of beats of your loop.
- VDMX, MadMapper, TouchDesigner. Convert to HAP. FFmpeg can do it:
ffmpeg -i loop.mp4 -c:v hap loop.mov. - OBS. Add the MP4 or the transparent WebM as a Media Source with Loop ticked. The OBS guide covers the rest.
Or skip the files
Loops are a snapshot of a scene. If you play on a Mac, AVIZ for Mac can send the live scene to Resolume, OBS or TouchDesigner over NDI® in both versions, and over Syphon in the version from aviz.studio. The picture then reacts to the actual set rather than to the track you rendered with. Setup is in the Syphon and NDI guide.
Rights and selling
Loops you render are yours to use according to your plan. Free is for personal use; Pro, Studio and the founder licence cover paid gigs and client work. Before selling a loop pack, read the License for exports.